

Ulasan lengkap game slot Gates of Olympus dari Pragmatic Play yang menawarkan keseruan dan peluang kemenangan besar dengan fitur unik dan grafis memukau.
Colok Bebas: Cara Tepat Menang Togel dengan Strategi Smart
Pelajari strategi bermain togel Colok Bebas agar lebih mudah menang. Artikel ini membahas cara bermain, tips ampuh, dan keseruan Colok Bebas dalam dunia togel.

Colok Bebas: Strategi Jitu Menang Togel yang Jarang Diketahui
Pelajari strategi jitu bermain Colok Bebas dalam togel untuk meningkatkan peluang menang dan dapatkan panduan lengkap serta tips menarik dalam artikel ini.

Jagoan Baccarat: Sensasi Main Live Casino Pragmatic Play yang Menggelegar
Merasakan serunya bermain live casino dengan game Baccarat dari Pragmatic Play. Tips menang dan keunggulan game yang wajib dicoba pemain kasino online.
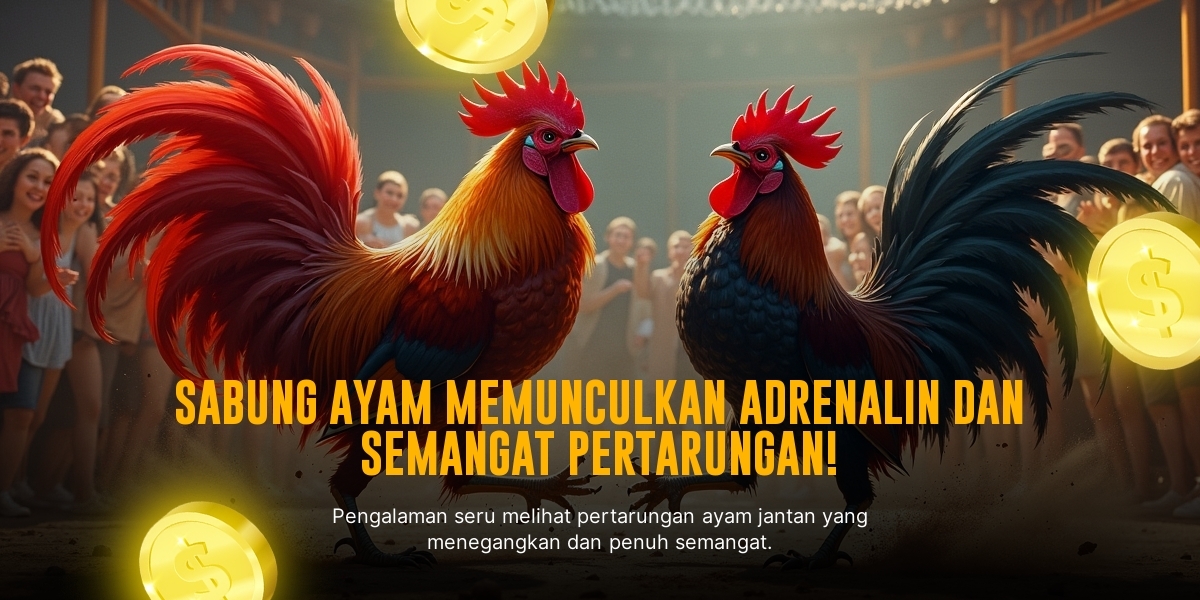
Mengulik Ciri Khas Ayam Bangkok dalam Sabung Ayam Online
Artikel ini membahas secara mendalam tentang ayam Bangkok dalam dunia sabung ayam online, mengenal ciri khas, keunggulan, dan bagaimana memilih ayam Bangkok yang unggul.
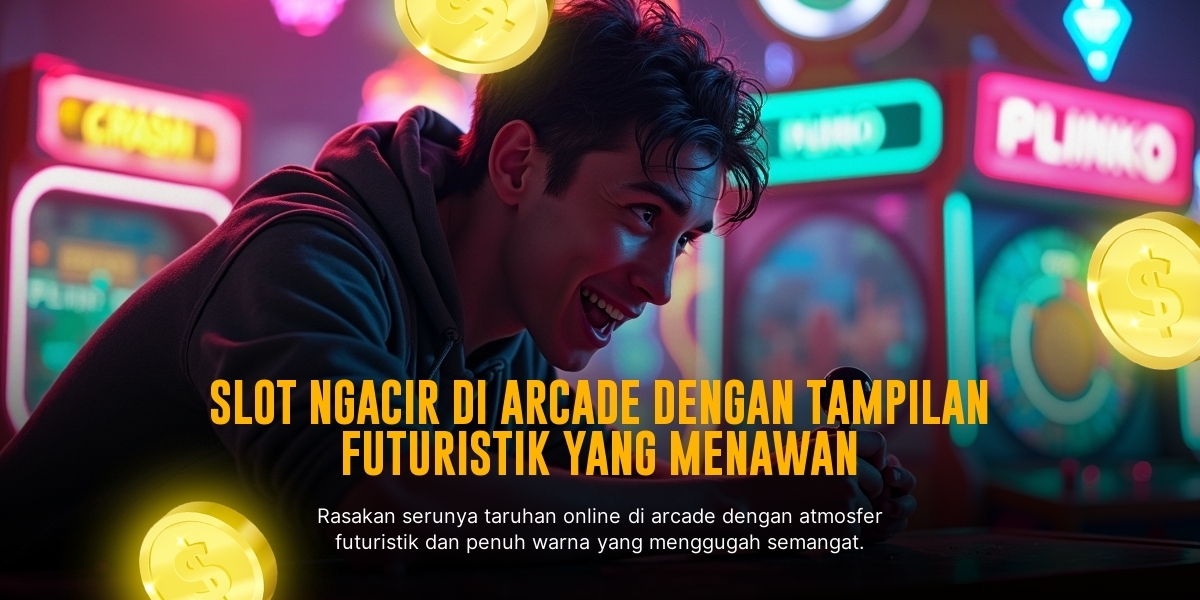
Spadegaming Arcade: Sensasi Game Arcade Klasik di Era Modern
Menyelami dunia Spadegaming Arcade, game arcade klasik yang dihadirkan dengan sentuhan modern untuk pengalaman bermain yang seru dan penuh nostalgia.
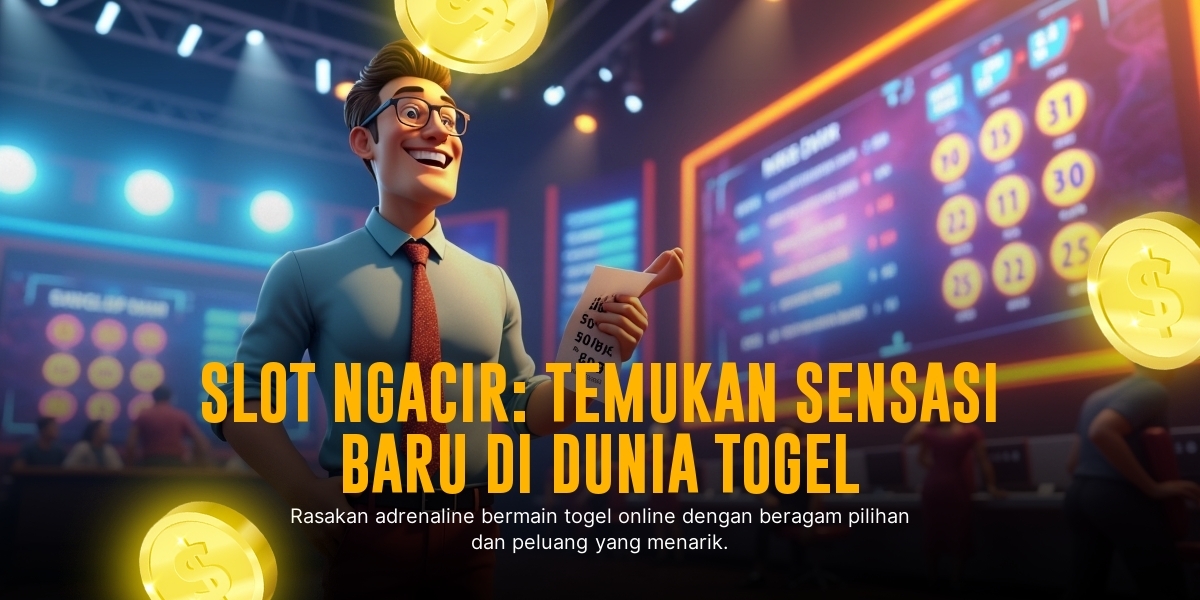
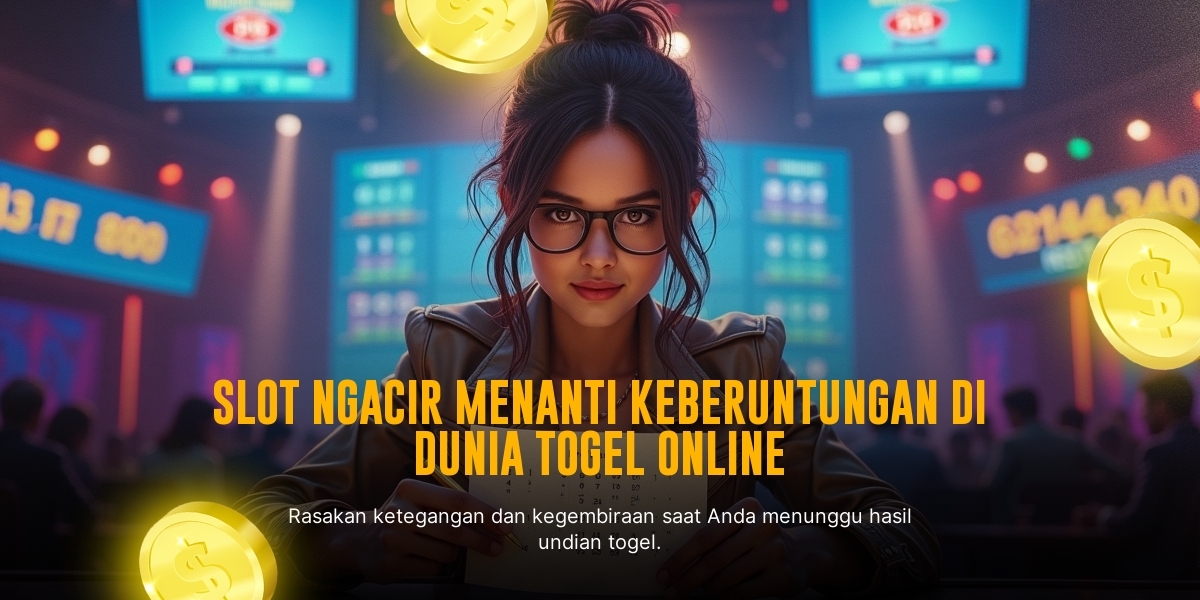
Togel Singapore: Cara Tepat Raih Untung Maksimal
Panduan lengkap bermain Togel Singapore agar bisa mendapatkan keuntungan maksimal dengan tips dan strategi yang tepat.

Bola Basket: Kunci Menjadi Pemain Gacor 25 di Lapangan
Rahasia menjadi pemain bola basket gacor 25 yang handal dan selalu diandalkan dalam setiap pertandingan. Teknik, strategi, dan mindset juara di lapangan bola basket.

Evolution Gaming: Raja Live Casino Dengan Sensasi Otentik
Mengulas Evolution Gaming, provider live casino terkemuka dengan pengalaman bermain yang otentik dan fitur lengkap. Temukan keunggulan Evolution Gaming untuk taruhan casino online Anda.

Evolution Gaming: Raja Casino Live dengan Fitur Unggulan
Kenali Evolution Gaming, penyedia live casino terdepan dengan ragam fitur unggulan yang menghadirkan pengalaman bermain kasino langsung paling nyata dan menarik.